

Simon's name plaque was all about using texture bitmaps to manipulate the relief in cool ways. I wanted the finished name plaque to resemble two plates riveted together with the lettering raised over the top. The first step was to create the necessary vectors.

I then created two separate fat reliefs.

When I hit the render button they appeared as one relief but this is because they were the same height.

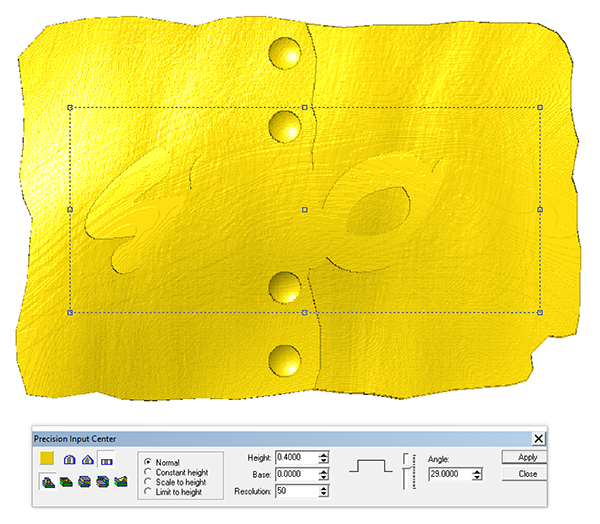
I then used a freehand shade to create a slightly sloped and irregular warp. The same bitmap was applied to the second relief (on the left) - one at a time.


Once I had applied the bitmaps I checked out the front view to make sure I had the results I was looking for.


I created a rectangle vector (bigger than the lettering outline and then applied a second bitmap of a random fade. This will create a twist in the relief. I combined the two riveted plate vectors and applied the same twisted bitmap to them with the same value of 0.6" (which is quite large and will produce a dramatic result.
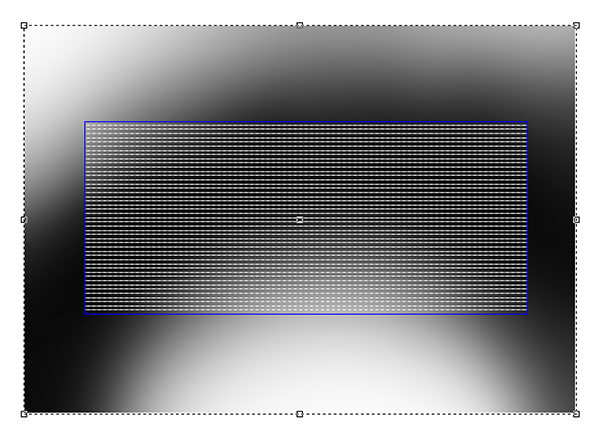

The rectangle was hidden below the combined plate reliefs. I would deal with that a little later.

The rivets were created next using the dome tool.


I then modified the rectangle relief by adding to it using the lettering border as a mask. I hit the render and it was peeking out a little but not enough.
The solution was to add more height to the modification. I thought I had added enough but when I added the texture to age the plate I had the same problem and so I added more height to the lettering outline another time.


Once everything was nudged vertically into position it was time to MERGE HIGHEST with the base relief and the lettering outline relief.
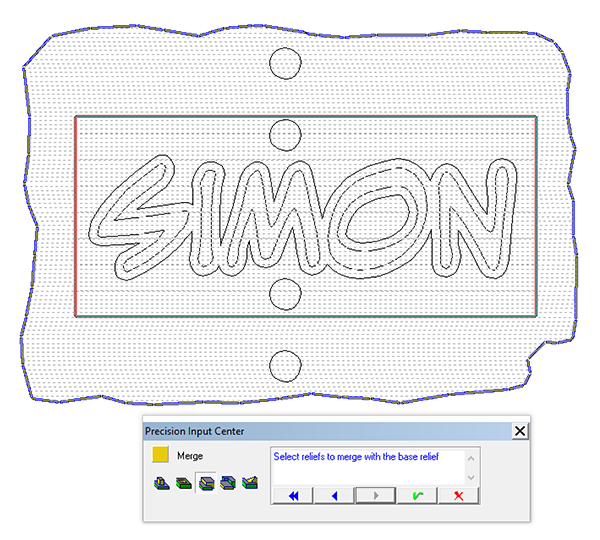
The last step was to add the raised dome lettering.

I tool pathed the relief and then sent it to the MultiCam to be routed from 30 lb Precision Board. The raw plaque looked pretty cool!
