

Bob's name plaque was the first out of the gate. I started with a quick hand drawing to work out the basics.

The first task in EnRoute was to work out the vectors.

I started with a flat relief. This would form the border and everything would build off of that.

I then modified this relief using the dome tool.


I decided to add a border on the lettering before we went too far.

I then used this lettering border vector to modify the relief.
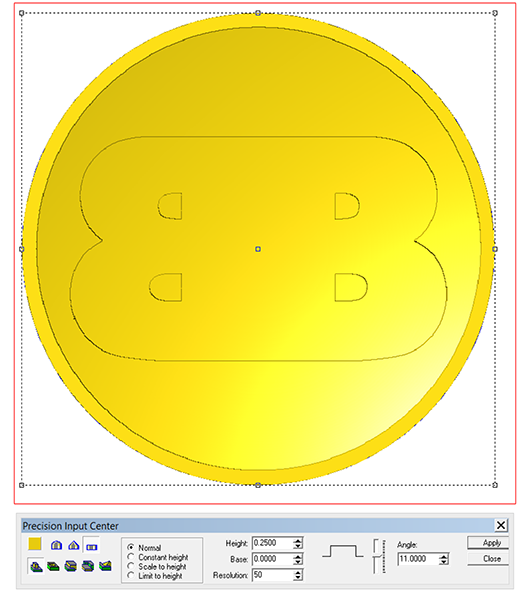
I then selected the relief, the inside round, the lettering border and the lettering and the texture bitmap. I applied a value of .2".


I then modified the relief using the lettering vector to raise the letters from the border.


The last step was the centre dome. It was created as a separate relief.

The height of the relief wasn't important at this stage. I then went to the front view and using the up arrows raised it into position.


Once it was lined up I then merged it highest with the base relief.


Once merged with the base relief I aligned it to the bottom of the plate and took a look at it in the front view. I build without a great deal of concern about the height of the final relief as it is a simple matter to grab the top node and then pull it down into the plate.


Then it was time to tool path the relief and send it off to the multiCam. The first (rough) pass was done using a 3/8" ball nose bit and a 50% overlap. The finish pass was done using a 1/8" ball nose bit and an 80% bit.
